timvisee/send is a fork Mozilla’s discontinued Firefox Send, a file sharing experiment which allows users to send encrypted files to other users. So, this fork is a community effort to keep the project up-to-date and alive.
Although there is a docker version of timvisee/send, I’m not that comfortable running containerized app inside of my already containerized ecosystem (Linux Container or LXC). Especially on an apps that is not that hard to install and run. So, this article is my snippets to install Send NodeJS version on Ubuntu using Minio as storage backend.
Requirements
- NodeJS
v16.x(We’ll usenvmfor this) pm2as NodeJS process manager- Nginx as a HTTP reverse proxy
- Redis (optional)
- Minio / another S3 compatible storage (optional)
Installation
Before all the installation process begin, it’s always good idea to make your current system up-to-date by running apt update && apt upgrade.
Install NVM, NodeJS and pm2
Download and install the latest release from nvm official repository (v0.39.3 when this article was written).
1curl -o- https://raw.githubusercontent.com/nvm-sh/nvm/v0.39.3/install.sh | bash
After installation process is done, simply exit and re-enter from your current tty shell to activate NVM environment.
Install required NodeJS version (v16.x) by running nvm install 16.
Install pm2 and pm2-logrotate.
1npm install pm2 -g
2pm2 install pm2-logrotate
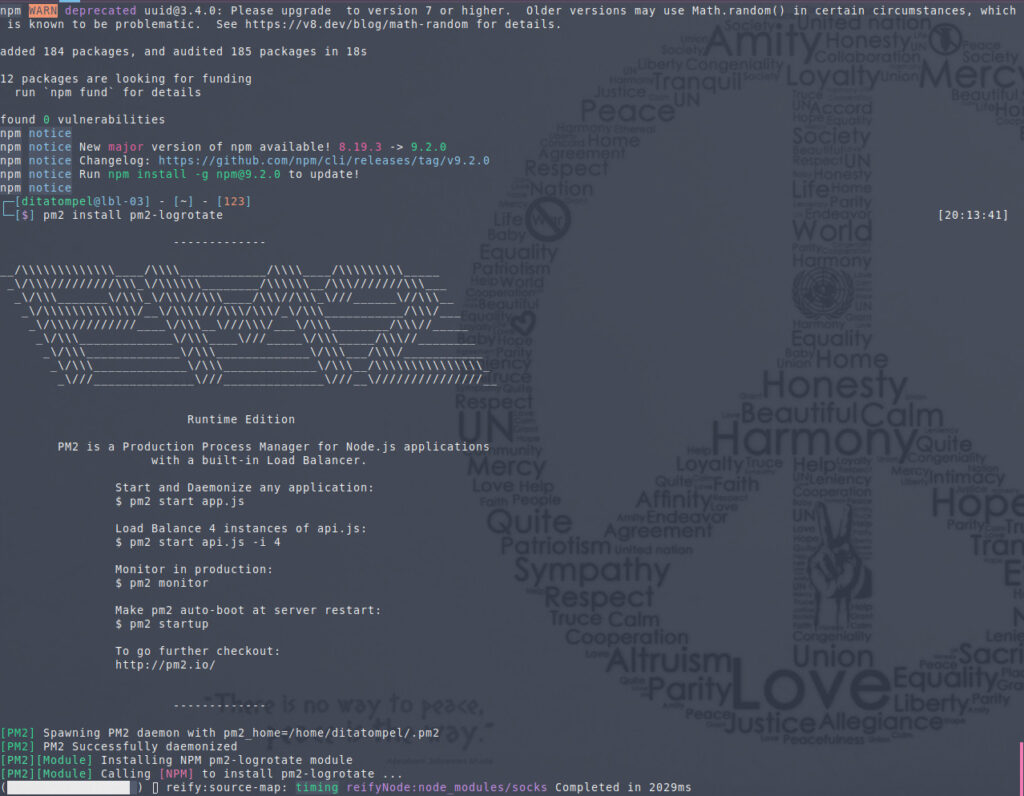
Enable pm2 run on system startup: pm2 startup. You’ll get output similar like this:
1[PM2] Init System found: systemd
2[PM2] To setup the Startup Script, copy/paste the following command:
3sudo env PATH=$PATH:/home/ditatompel/.nvm/versions/node/v16.19.0/bin /home/ditatompel/.nvm/versions/node/v16.19.0/lib/node_modules/pm2/bin/pm2 startup systemd -u ditatompel --hp /home/ditatompel
Follow the instruction above by executing the last line command it’s suggested. Eg:
1sudo env PATH=$PATH:/home/ditatompel/.nvm/versions/node/v16.19.0/bin /home/ditatompel/.nvm/versions/node/v16.19.0/lib/node_modules/pm2/bin/pm2 startup systemd -u ditatompel --hp /home/ditatompel
This will create systemd service for your current user.
Install and run Send service
Clone timvisee/send official repository:
1git clone https://github.com/timvisee/send.git && cd send
Install required packages and build the production assets:
1npm install
2npm run build
Now, specify your Send environment variable and run the app using pm2 :
 1BASE_URL=https://send.example.com \
 2DETECT_BASE_URL=true \
 3REDIS_HOST=<your_redis_host> \
 4REDIS_PORT=6379 \
 5REDIS_DB=0 \
 6AWS_ACCESS_KEY_ID=<your_aws_key_id> \
 7AWS_SECRET_ACCESS_KEY=<your_aws_secret_key> \
 8S3_BUCKET=<your_aws_secret_key> \
 9S3_ENDPOINT=<your_aws_endpoint> \
10S3_USE_PATH_STYLE_ENDPOINT=true \
11pm2 start npm --name "Send" --update-env -- run prod
- If you didn’t want to use Redis, remove
REDIS_*environment variables. - If you want to use local storage instead, remove
AWS_*andS3_*variables, then addFILE_DIR=/path/to/local/storagevariable.
Make sure to save the pm2 process by running pm2 save. To see list of app managed by pm2, run pm2 ps and to monitor pm2 processed run pm2 monit.
Nginx Configuration
Now, create new server block on your Nginx configuration:
 1server {
 2  listen 80;
 3  server_name send.example.com;
 4  root /var/www/nginx/default;
 5  location /.well-known/acme-challenge/ { allow all; }
 6  location / { return 301 https://$host$request_uri; }
 7}
 8
 9server {
10  listen 443 ssl http2;
11  server_name send.example.com;
12
13  # put your SSL confs here
14  ssl_certificate     /path/to/ssl/fullchain.pem;
15  ssl_certificate_key /path/to/ssl/privkey.pem;
16
17  root /var/www/nginx/default;
18
19  sendfile             on;
20  client_max_body_size 3000m;
21
22  location / {
23    try_files $uri @proxysend;
24  }
25
26  location @proxysend {
27    proxy_set_header Host $host;
28    proxy_set_header X-Real-IP $remote_addr;
29    proxy_set_header X-Forwarded-For $proxy_add_x_forwarded_for;
30    proxy_set_header X-Forwarded-Proto $scheme;
31    proxy_set_header Proxy "";
32    proxy_pass_header Server;
33
34    proxy_pass http://127.0.0.1:1443;
35    proxy_buffering on;
36    proxy_redirect off;
37    proxy_http_version 1.1;
38    proxy_set_header Upgrade $http_upgrade;
39    proxy_set_header Connection $connection_upgrade;
40
41    tcp_nodelay on;
42  }
43
44  location /api {
45    proxy_set_header Host $host;
46    proxy_set_header X-Real-IP $remote_addr;
47    proxy_set_header X-Forwarded-For $proxy_add_x_forwarded_for;
48    proxy_set_header X-Forwarded-Proto $scheme;
49    proxy_set_header Proxy "";
50
51    proxy_pass http://127.0.0.1:1443;
52    proxy_buffering off;
53    proxy_redirect off;
54    proxy_http_version 1.1;
55    proxy_set_header Upgrade $http_upgrade;
56    proxy_set_header Connection $connection_upgrade;
57
58    tcp_nodelay on;
59  }
60}
