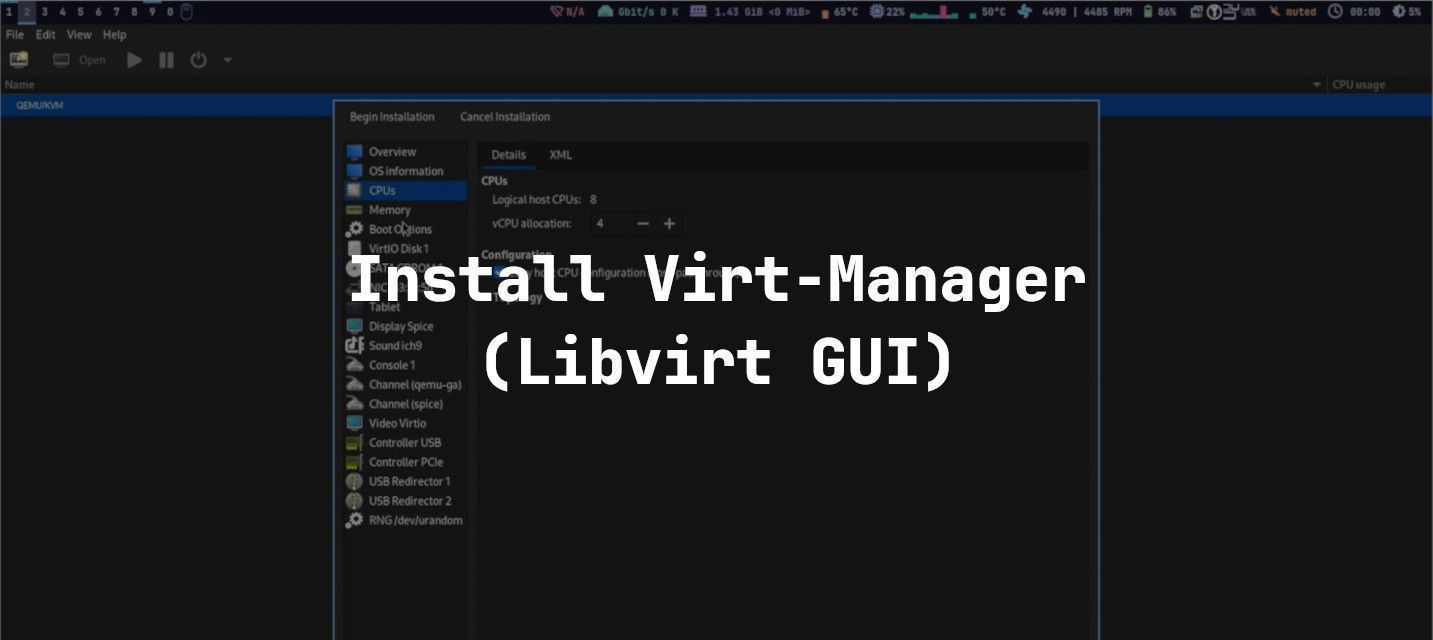
I have written several articles related to KVM/QEMU and Virt-Manager, but I have not written about how to install and configure Virt-Manager on Arch Linux. This is a tutorial that will cover both aspects.
Virt-Manager is a graphical user interface (GUI) for libvirt that makes
it easier for us to manage virtualization machines or emulators on our
computers.
Introduction: Between KVM and QEMU
Before we begin and to better understand the options available in
virt-manager, I would like to discuss a brief overview of KVM and QEMU.
Many people assume that KVM and QEMU are one and the same thing. However,
this is not true.
KVM is a full virtualization technology that utilizes hardware for its
virtualization capabilities. To use KVM, your CPU must support virtualization
(in this case, Intel VT-x for Intel processors and AMD-V for
AMD processors).
On the other hand, QEMU is an emulator. It can emulate a complete system
even if the hardware you have does not support virtualization. QEMU can emulate
devices such as storage, network interfaces, and others. Moreover, it can also
emulate different CPU architectures: for example, an x86_64 host can emulate
the ARM architecture on a guest virtual machine.
In terms of performance, KVM is significantly superior to QEMU because it utilizes hardware directly. As such, KVM is very optimal for Linux system virtualization and provides better resource management than QEMU.
In terms of compatibility, QEMU is superior due to its ability to emulate many CPU architectures, emulate devices such as storage, network, display adapters, and others. Additionally, QEMU does not require hardware that supports virtualization technology to run it.
To verify whether the CPU you are using supports virtualization, you can use the command:
1lscpu | grep Virtualization
If the command above produces no output, then you can only use QEMU. However, if your CPU does support virtualization, you can utilize KVM + QEMU, which combines hardware acceleration with full CPU and memory virtualization.
Note: Most mid-range to high-end CPUs manufactured within the last 10 years should support virtualization. If the
lscpucheck above does not produce any output, please check your BIOS configuration and ensure that the feature is enabled.
Required Software Installation
First, install libvirt, dnsmasq, qemu-desktop, and virt-manager using
the following command:
1sudo pacman -S libvirt dnsmasq qemu-desktop virt-manager
Here, dnsmasq is necessary for guest network connectivity (DHCP).
Additionally, qemu-desktop is required to enable GUI desktop support. If you
plan to run virtual machines headless only, you can replace qemu-desktop with
qemu-base. Note that both qemu-base and qemu-desktop are limited to
x86_64 emulation. However, if you intend to use architectures like ARM in
your virtual machines, you will need to install the qemu-emulators-full
package.
Access Rights Configuration
To enable regular users to use virt-manager, add your user to the libvirt
group using the following command:
1sudo usermod -aG libvirt <your_username>
Next, modify or add the following configuration to /etc/libvirt/libvirtd.conf:
1unix_sock_group = "libvirt"
2unix_sock_ro_perms = "0770"
The above configuration sets the group access rights for
libvirt UNIX socket to the libvirt group, allowing members of this group
to perform read and write operations.
Using Virt-Manager
Before running virt-manager in GUI mode, start the libvirt daemon using
the following command:
1sudo systemctl start libvirtd
This is necessary to enable QEMU/KVM operations outside of your user session and allow the guest machine to connect to the network later.
Once the libvirt daemon is running, you can run virt-manager and begin adding
QEMU/KVM connections. After that, try creating the virtual machine you want to
test. If you encounter difficulties, referring to the video included above may
provide some assistance.
To run Windows VM, you will need swtpm and configure TPM. For more
information, please refer to my previous article:
“Running Windows 11 VM (TPM And Secure-Boot) On Linux”.
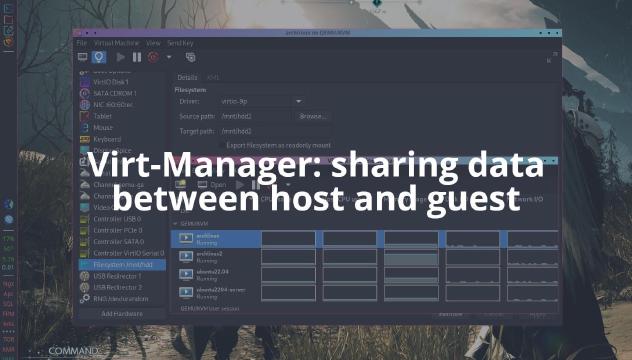
You can also use VirtIO-FS for sharing data between the host and guest virtual machines.
