There are several ways to control another computer’s desktop (GUI) over a network, such as using RDP or VNC. Occasionally, I also use X11 Forwarding to run a GUI application from a remote computer on my laptop. While for more complex GUI control, I use xrdp.
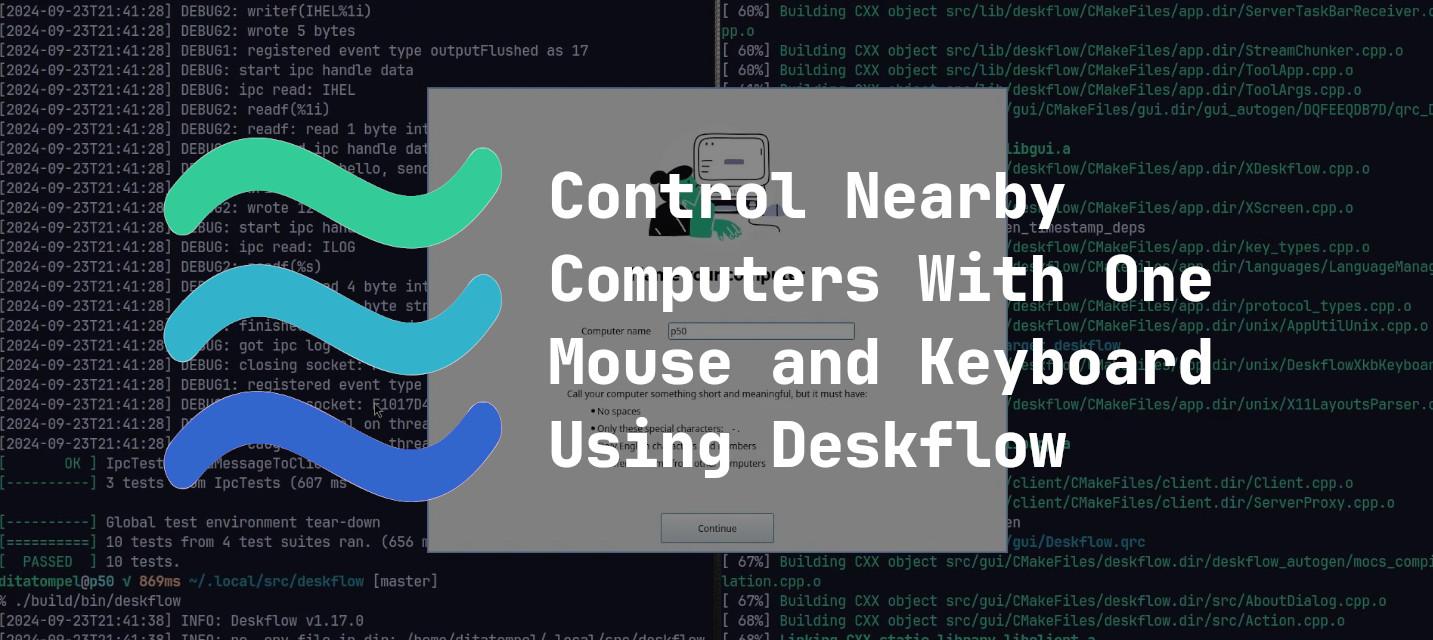
But perhaps in the future my way of controlling another computer’s desktop on a local network will be different after I discovered Deskflow. Deskflow is an open-source application (upstream from Synergy, commercial) for sharing keyboard and mouse with other computers. With Deskflow, I can use one keyboard and trackpad from my laptop to control another computer’s desktop.
Unlike RDP or VNC, which display the remote desktop display on our PC/laptop; Deskflow does not display anything from the remote desktop at all. If simplified, Deskflow only records and forwards mouse, keyboard, and clipboard input to another computer (client). So Deskflow is effective if the remote desktop (client) has a monitor, and it’s close by (as if you have multiple monitors, but from different PCs).
Installation
At the time of writing, Deskflow is not yet available in the package manager for all Linux distributions. Deskflow also does not provide pre-compiled binaries for Linux, macOS, or Windows. Therefore, the only way to install and run Deskflow is to compile it from its source code.
UPDATE: The build process has been changed since this video was uploaded. For Linux users, their latest release already includes packages for Debian, Fedora, and OpenSUSE. Check on their release page. For Arch Linux, it’s already on EXTRA repository, so you can easily install using
pacman -S deskflow.
However, you don’t need to worry because there is already an “install” script available for most distributions (Debian, Fedora, OpenSUSE, and Arch Linux).
In this article, I will use two computers, both running the Linux operating system:
- P50: My main computer that I will use to control another computer (the server).
- T420: Another computer that I will control from P50 (the client).
First, download the Deskflow source code and compile the Deskflow application on both the server and client:
1git clone https://github.com/deskflow/deskflow.git
2cd deskflow
3./scripts/install_deps.sh
4cmake -B build
5cmake --build build -j$(nproc)
After the compilation process completes successfully, ensure that both the unit tests and integrity tests pass without issue:
1./build/bin/unittests
2./build/bin/integtests
Configuration
Server
On the server computer, run ./build/bin/deskflow, then select
“Use this computer’s keyboard and mouse”.
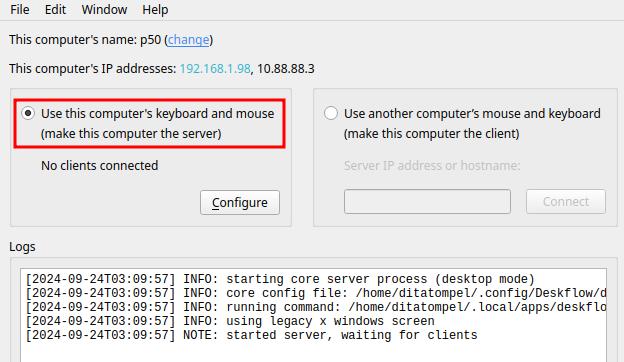
To make it easier to use the Deskflow application, we can create an
XDG Desktop Entry by copying the
.res/dist/linux/deskflow.desktop file to ~/.local/share/applications
(for single-user mode) or /usr/share/applications for multi-user mode.
Don’t forget to adjust the values of Path=/usr/bin and
Exec=/usr/bin/deskflow in the file to point to the directory where the
deskflow binary file is stored.
Client
On the client computer, run ./build/bin/deskflow, then select
“Use another computer’s mouse and keyboard” and enter the server’s IP address
into the text input below.
Note: For some reason, I encountered an issue the first time I tried to connect to the server via X11 Forwarding. Therefore, I made the initial connection directly from the client laptop GUI (not through the X11 Forwarding GUI).
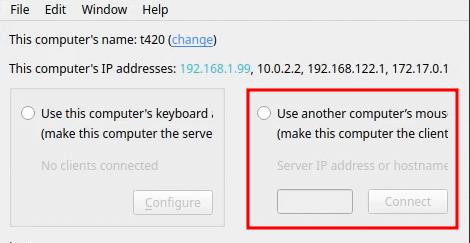
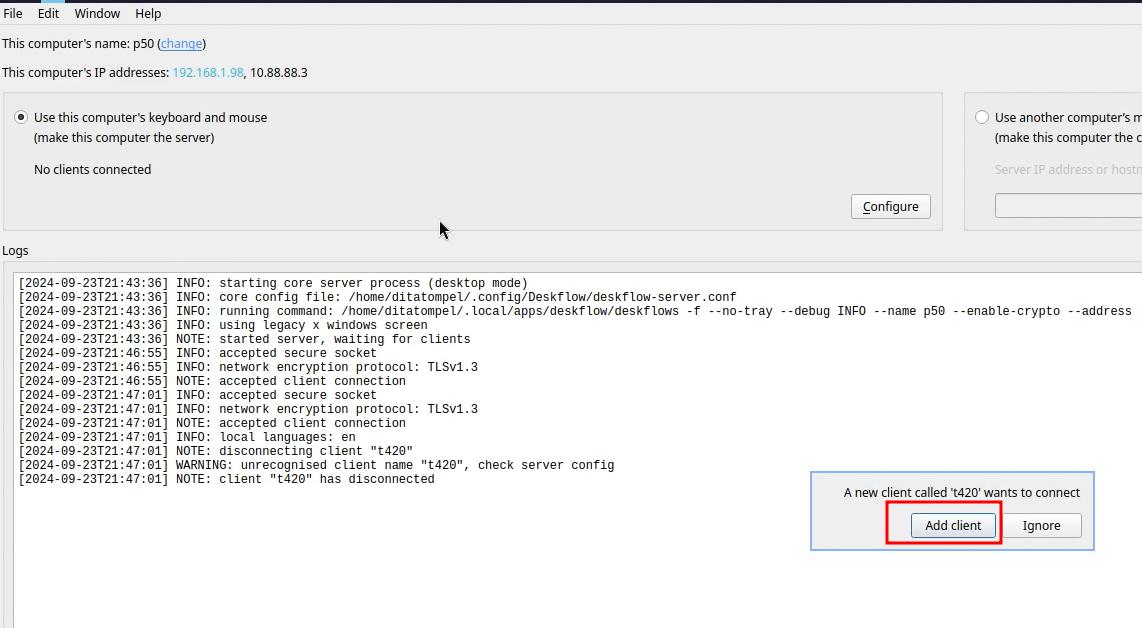
After trying to connect from the client side, a pop-up window will appear on the server computer informing you that there is a new client wanting to connect. Select “Add client”.
After registering the client, you can choose a layout where we can control the position of the client computer (such as when using dual monitors).
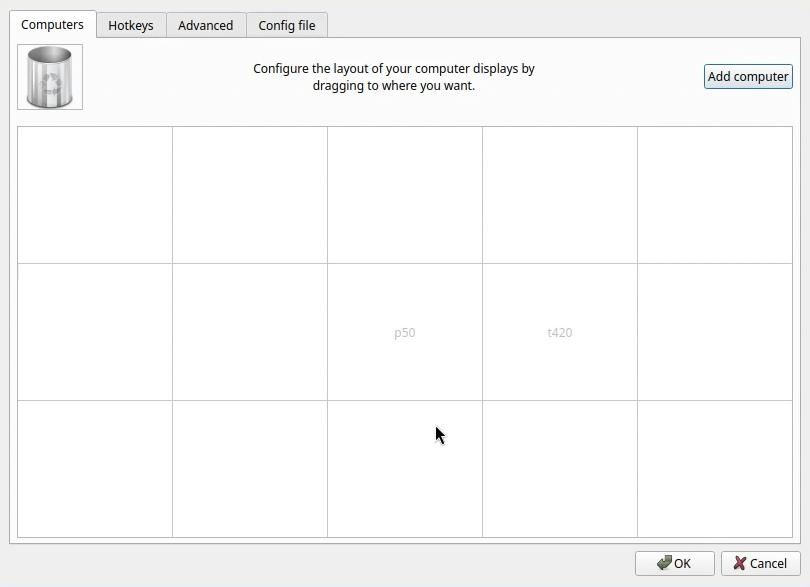
Click “OK” and try to move the mouse pointer position to the direction where you configured the client computer position. You should be able to use the server computer’s mouse and keyboard for the client computer.
Tip: After the client is registered to the server, you can manually connect from the client using the CLI with
deskflowc --enable-crypto [server IP address].
Resources
- Deskflow Project: github.com/deskflow/deskflow
